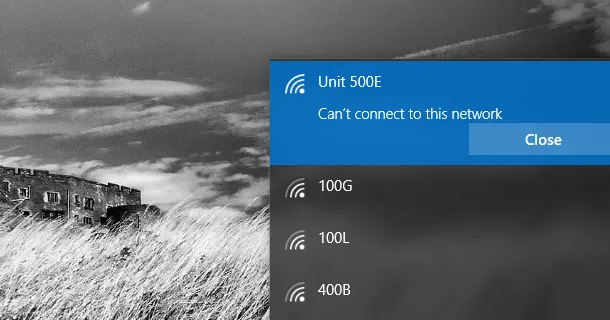
Can't connect to this network error on Windows 10 is one of the most frustrating experience a Windows user could come across. This happens sometimes after a password change on the router, or it could be a problem with your network adapter driver. Whatever the problem, there are a few simple troubleshooting methods you can try in order to fix the problem for good. This article covers everything that doesn't require any technical expertise, so we hope it will be useful for anyone who is doing this for the first time and without any expert help.
Fix 1: Restart Modem and Router
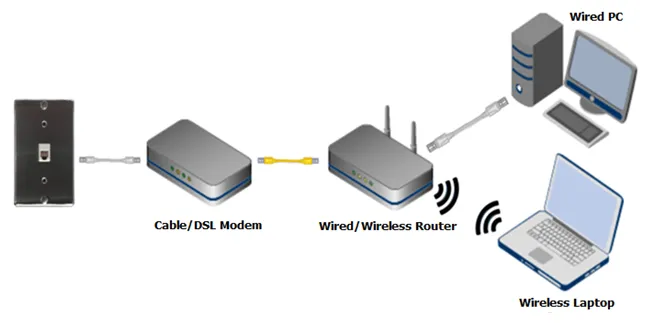
We shut down our computer regularly when not using it. But we seldom do this on a router as we almost forget the existence of the router. For home usage router, it could be stuck on running when it has been working for weeks or months. A simple restart could bring it to work and this is one of the most effective tricks to fix the issue like can't connect to this work. This also applies to the moderm, where the router is connected to the outside of world through Internet.
Another trick at here is to wait for 3-5 minutes after shutting down the router or moderm. This will allow the device take a rest and network cache being flashed during the short period.
Fix 2: Disable and Enable the Connection
It's a well-known joke in the world of Microsoft tech support that a lot of Windows problems go away when you turn off your PC and turn it on again, so let's go with this approach first. What we're doing here is disabling the adapter and then enabling it again in the hope that whatever minor issue is causing the problem will go away on its own.
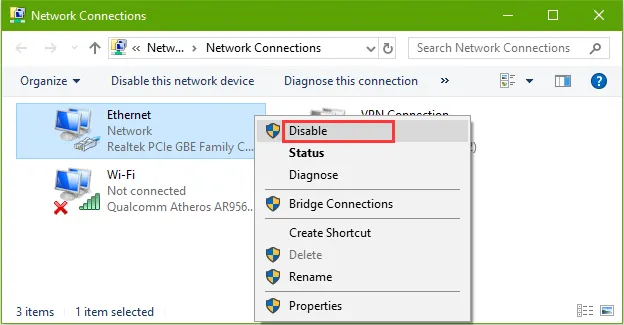
Open Control Panel and click on Network and Internet . Right-click your wireless adapter and choose Disable in the contextual menu. Right-click again on the wireless adapter and choose Enable.
If it's set to connect automatically, it will do so now. If this fix doesn't work, try this next one.
Fix 3: Forget the Network and Reconnect Manually
This is the next easy fix for most wireless connection issues. Every computer remembers the networks it has previously connected to including various parameters. Forgetting a network figuratively wipes the slate clean so you can connect again manually.
Go to the Manage Known Networks section by going to Settings > Network & Internet > Wi-Fi > Manage Wi-Fi Settings and scrolling down to the Manage section. Select the problematic wireless network and click the Forget button.
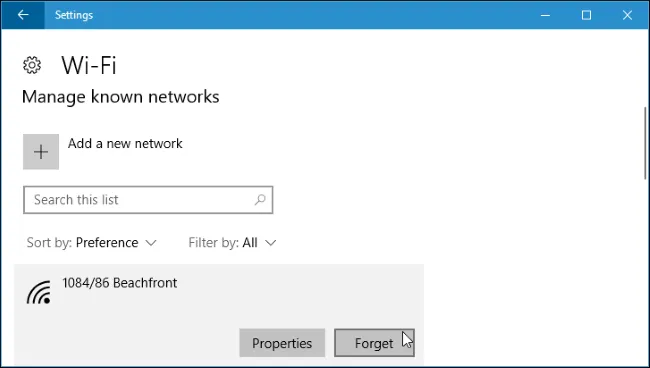
Now select the network again and click Connect. You will need to enter the password again. This should resolve the problem if the issue was related to remembered settings. If not, you can try uninstalling the network adapter.
Fix 4: Uninstall Network Adapter Driver
The physical network adapter is controlled by a software program called a driver that can be installed and uninstalled like any other program. If your adapter is malfunctioning, it could throw the "Windows 10 Can't Connect to This Network" error. To resolve this issue, you can simply uninstall the driver. Don't worry about replacing it, since this will be done automatically by Windows 10 when you restart the computer. Follow the process below:
Go to Device Manager after pressing Windows Key + X. Inside Device Manager, expand the Network Adapters section, then right-click your adapter and select Uninstall from the contextual menu. Make sure you're doing it on the correct adapter, though.
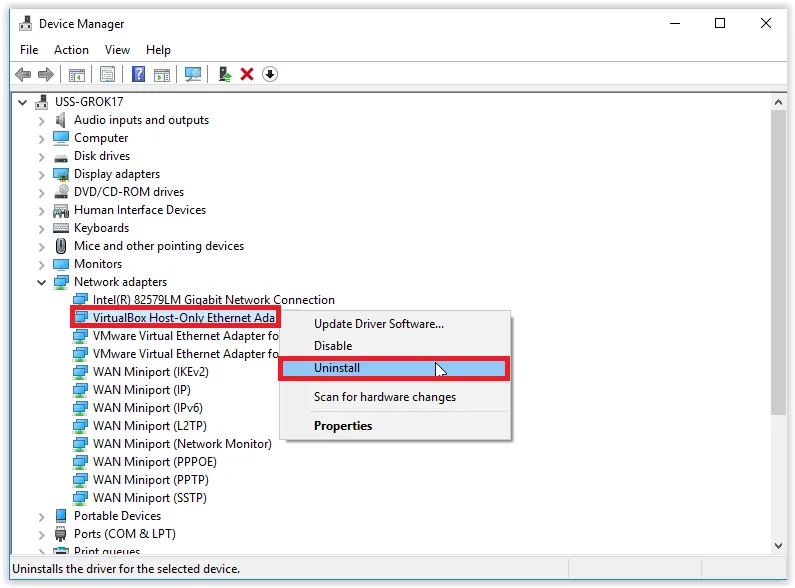
In the warning pop-up window, click OK to confirm uninstalling the driver. Restart your Windows 10 PC. The new driver will automatically be installed. Alternatively, you can simply download network driver from vendor's website and install it on Windows 10 afterwards.
Fix 5: Update Network Adapter Driver
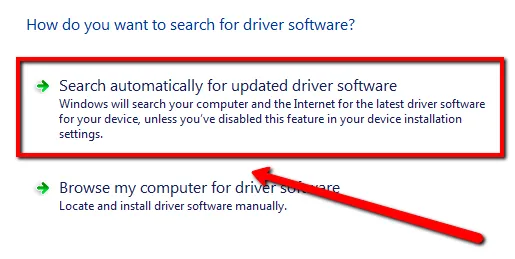
In certain cases, the problem is related to a driver that is outdated. You can get the most recent one, but you will need an alternate Internet connection. Go to Device Manager by pressing Windows Key + X and choosing it from the menu. In Device Manager, expand the Network Adapters section and right-click on the problematic adapter and select Update Driver. In the next window, choose the option "Search automatically for updated driver software."
In case Windows 10 is unable to locate an updated driver, you will need to go to the manufacturer's website and download the latest driver for your model of adapter. Obviously, you will need an Internet connection, which means you will need a different connection if you're doing it on the same Windows 10 computer, or you can use another computer that's able to connect to your Wi-Fi network. Instructions for updating the driver will be found on the manufacturer's website.
Fix 6: Disable IPv6 on your PC and Router
In some situations, your IPv6 network protocol could be the source of the problem. If that's the case, you can simply disable it and your connection should start working again.
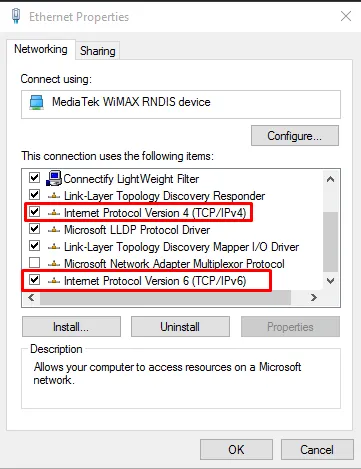
Open the Network and Sharing Center and click on the current connection in the Connections section. In the Connection Status window that appears, click on Properties. In the list of items, look for Internet Protocol Version 6 (TCP /IPv6) and uncheck the box next to it. Click OK and then restart your PC.
If the above fix doesn't work, you may have to disable it on your router as well. This depends on the type of router you're using, so dig up the instruction manual and look for a solution in the Troubleshooting section.
There are also other, more complex ways to fix this issue, but if you're a new user, you might not want to risk breaking anything. The five fixes for the "Windows Can't Connect to This Network" issue should work in the majority of cases, so try these first before you search for more technical options.