Windows 10, Windows 8 and Windows 7 typically come with a default administrator login that has full privileges. Besides this, other administrators may have been added over time. On occasion, however, you might want to remove the admin account and just keep the user and guest accounts, or you might want to remove just one of the administrator accounts because the person no longer requires admin access.
In certain cases, a newly created admin account is no longer required because the person either left or doesn't need admin privileges. In every situation, you need to look at the security risk of having an admin account. Yes, there are privileges, too, but if the risks far outweigh the benefits, then the best thing to do is to remove the admin account in question.
Part 1: How to Delete Administrator Account in Windows 10/8/7 with Windows Registry
Whatever the case may be, the best way to remove the administrator account is by doing it in the Windows registry. While newly created admin accounts can be deleted using the elevated command prompt, you can't do it for the built-in admin account. Therefore, deleting the account in the registry is a viable option. How do you do that? The steps below describe the process of accessing the registry to delete the default admin account.
Step 1: Before you do anything, take a full backup of the registry. If something goes wrong during the deletion process, you can always restore it.
Step 2 : After the backup has been taken, press Windows + R to open the Run dialog box. Here, type in "regedit" without the quotes.
Step 3 : What you want to do is to access the SAM key, which resides at HKEY_LOCAL_MACHINE\SAM\SAM. You can also get there by expanding the relevant folder and clicking on the appropriate subfolder. Now, right-click on the SAM subfolder mentioned in Step 2 and click on "permissions".
Step 4 : In the next windows, click on the admin group and check the box below that says "Full Control", then click on "Ok". Now go back to the Registry Editor window and refresh it (View >> Refresh).
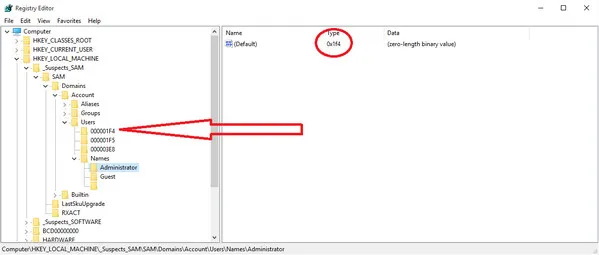
Step 5 : Next, go to the same folder location as before, but go deeper, into this location: HKEY_LOCAL_MACHINE\SAM\SAM\Domains\Account\Users\Names.
Step 6 : Under "Names", right-click on Administrator and hit "Delete". Exit, then restart your machine. You will now find that the Admin account has been deleted.
Note: If something went wrong or you want to restore the admin account that you just deleted, you can use the registry backup to do this.
Part 2: How to Delete or Remove Admin Account without Password
The first part demonstrates how to delete an admin account when logged in. How to do this without knowing the password? This happens a lot. When an employee left the company without telling the current password, the next owner must take actions to delete the account and use a new admin account instead. So under sucn circumstance, you can use PassMoz Windows Password Recovery to remove the password first. After that, you can login without password. Hence you are able to delete the admin account by following the steps in Part 1.


Step 1 Install PassMoz Software
The first step is to get another working PC and download PassMoz software on it. Then double click the setup file to install it on the computer. You will see a screen like this after opening it up.
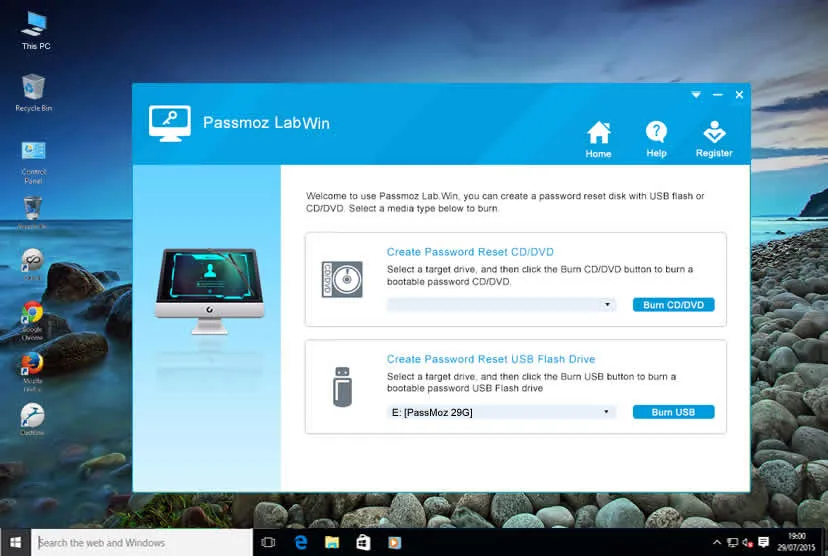
Step 2 Insert USB and Burn ISO to USB
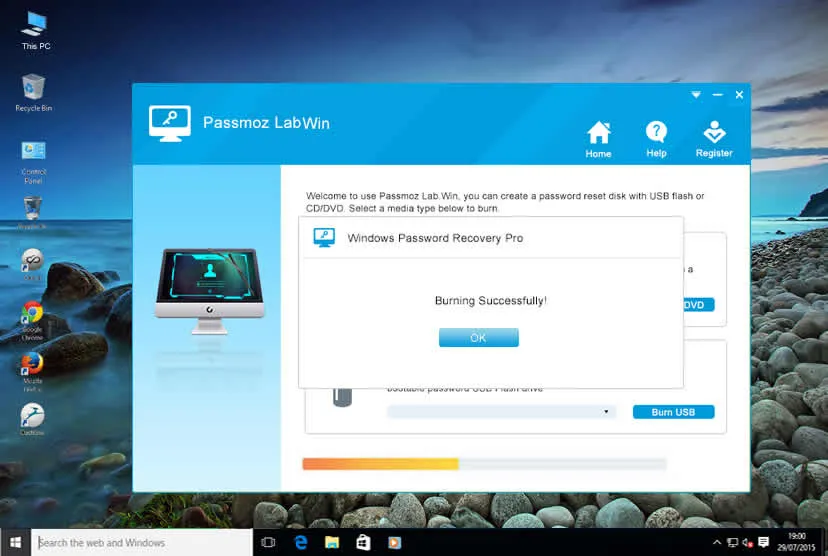
In this step, you need to insert an USB drive to the computer so you can create a password reset disk by burning the default WinPE.iso to the disk. When it is done, take out the disk from that computer.
Step 3 Remove Admin Account Password
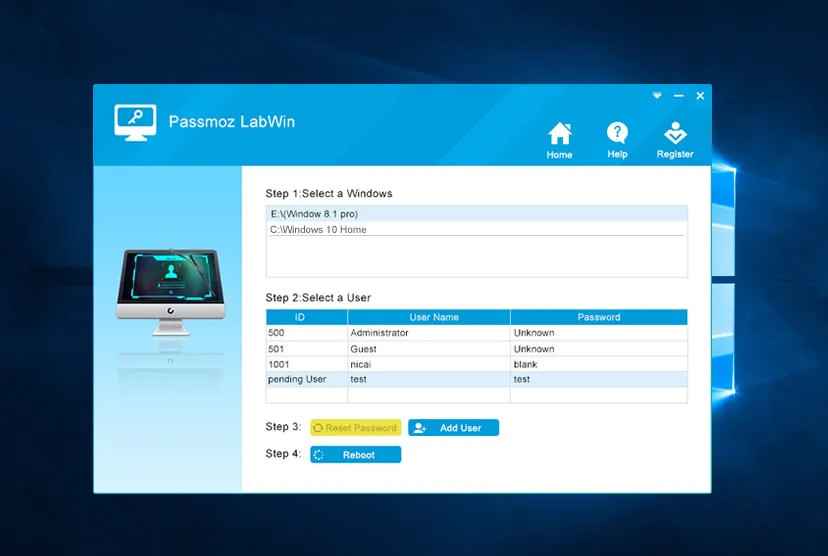
Plug the USB drive to the locked computer and boot from it. When everything is set up as expected, PassMoz software will be shown on the screen after startup. Now, you can reset password of any account on the computer. When the password is reset, you can login the computer without password.
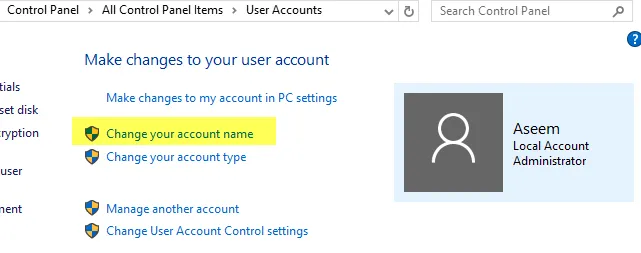
Part 3: How Do I Change an Admin Account Type?
Rather than deleting an admin account, you may just want to change the type of account into a regular user. This is much easier than completely removing an account, and is usually done when a user doesn't require access to admin privileges. To change the account type of a user or admin, follow the steps below:
Step 1: Click on Windows + I to open the Settings window.
Step 2 : Go to Accounts >> Family & other people >> Other people >> Change account type.
Step 3 : In the new window, change the type from Administrator to Standard User, and click "OK". And you're done! Alternatively, you can also do this via the Control Panel >> Change account type.
Additional Tip
Again, whenever dealing with administrator accounts, you need to weigh the benefits against the risks. Having too many admin accounts means that many people have system rigts that regular or standard users don't have. Things they do could end up affecting all users on that machine. If you want to void that, then deleting unwanted administrator accounts is usually the best way to do it. You won't need to treat user accounts the same way because the security risks are less significant.
One of the reasons Windows is so great is that there are several ways to accomplish a single objective. If your objective is to either delete a built-in administrator account or a newly created one, or simply change the account type to Standard User, you can try one of the methods outlined above.